TIME PARADOX
How to get the best out of our hint system
Each hint for clues will be provided in the order most ideal to solve, however you may have solved these in a different order, make sure you have given all parts of the envelope a go before getting a hint on just one part, you may need to solve an alternate clue to lead onto the other.
If you have given all parts a go and it's time for some help please scroll on down, but wait! not too fast! If you want just a hint then scroll down only until you see the hint, if you keep scrolling it will then tell you how to solve the puzzle and then onto the answer of that puzzle, and then onto the next part of the envelope game of which will repeat the same system finally onto the envelope answer.
ENVELOPE ONE HINTS
Part One

Hint:
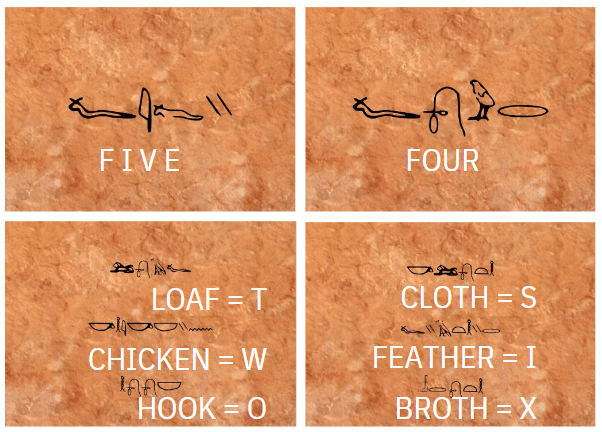
Use the translator to translate each code card to reveal numbers.
How to Solve:
On the back of the hieroglyphics clue we can see Vulture = A. We can therefore infer that each hieroglyph represents a letter of the alphabet. Using the translator, translate the hieroglyphs into words. The translated words will spell 4 numbers.
Decoded:
Part Two
Hint:
The order of the numbers is determined by the image on the back. Sunrise is first and moon is last.
How to Solve:
To order the numbers, arrange the pictures on the back of the cards into order of sunrise > full sun > sundown > moon.
Decoded:
Envelope Answer: 5264
ENVELOPE TWO HINTS
Part One
Hint:
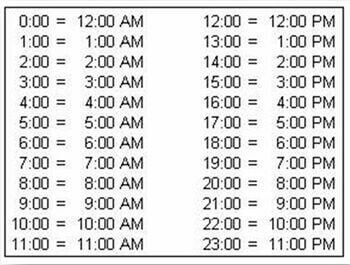
The photo says to meet at 1900 hours. What is that in 12 hour time.
How to Solve:
If we translate 1900 into 12 hour time, we get 7pm
Decoded:
7
Part Two
Hint:
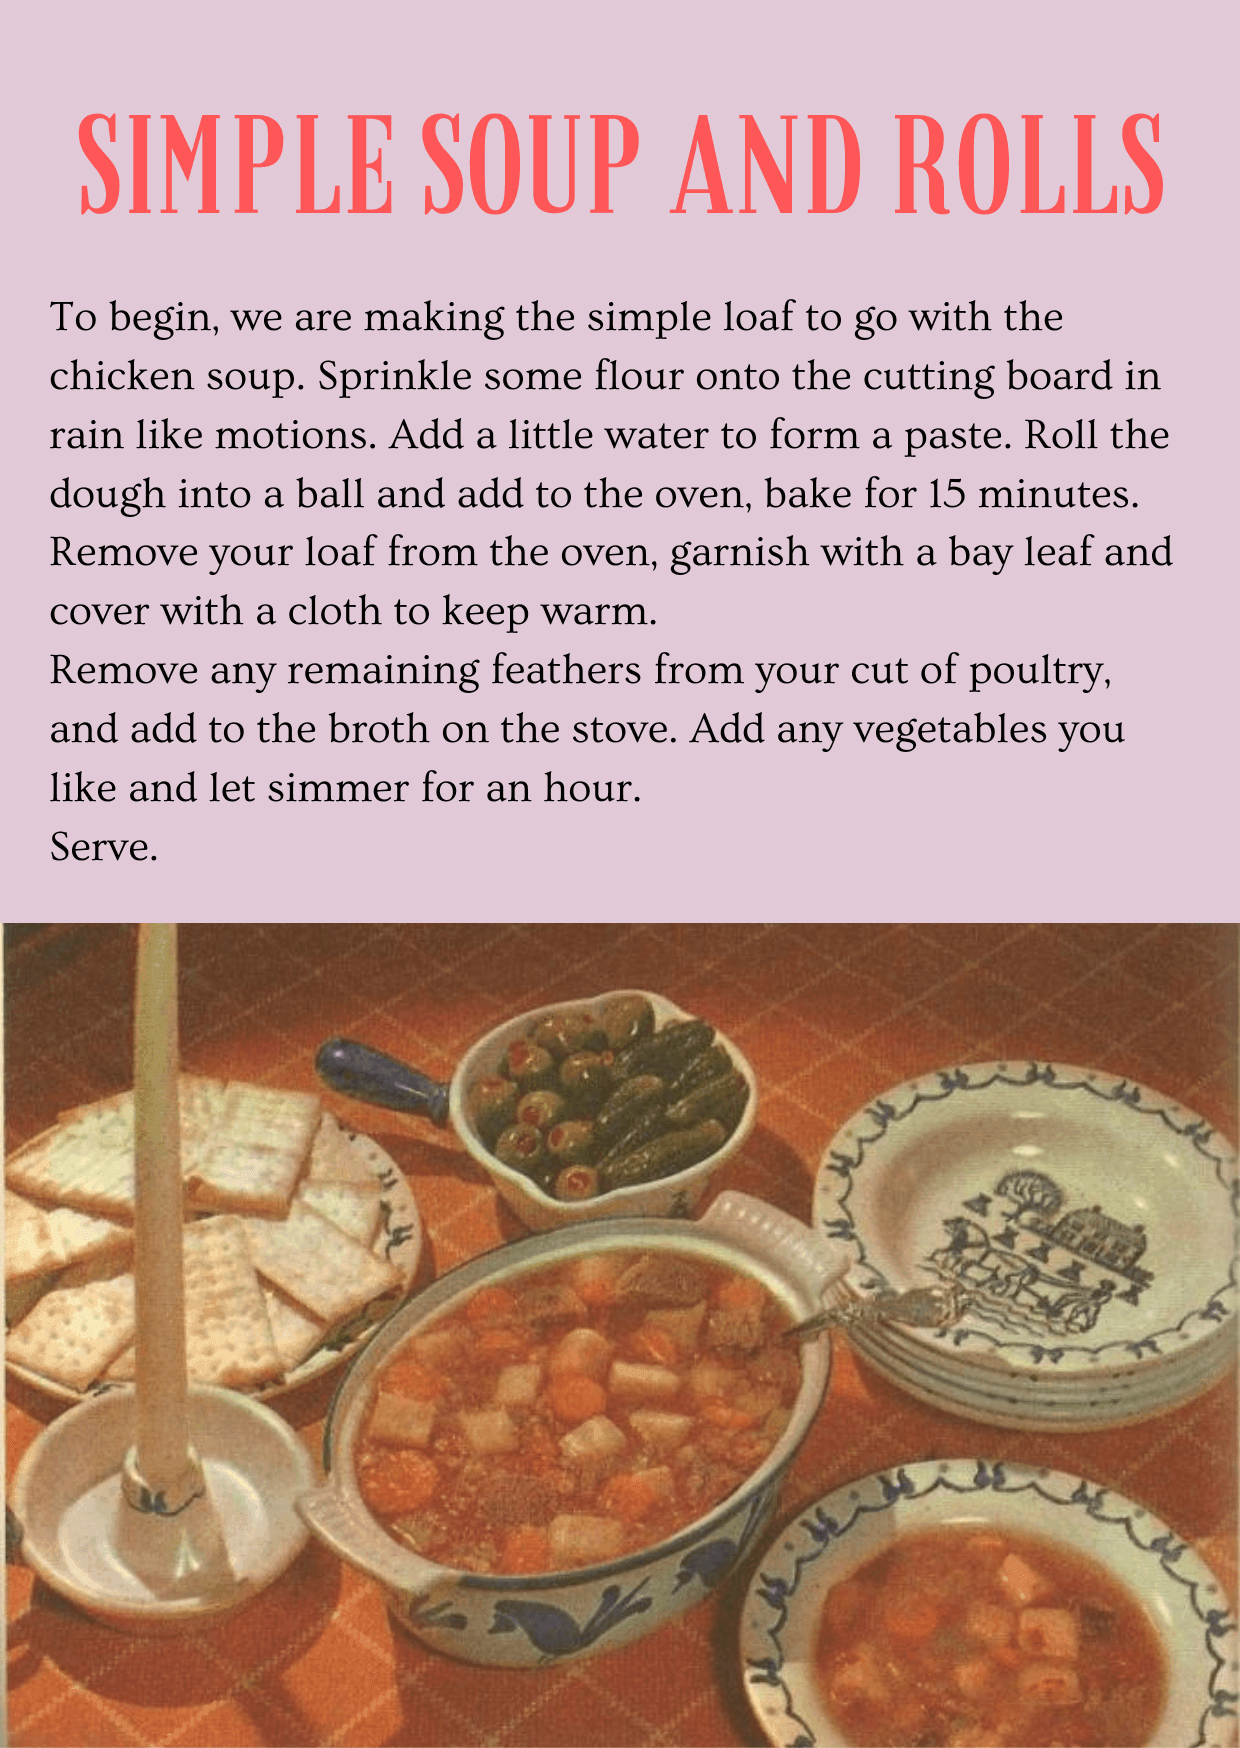
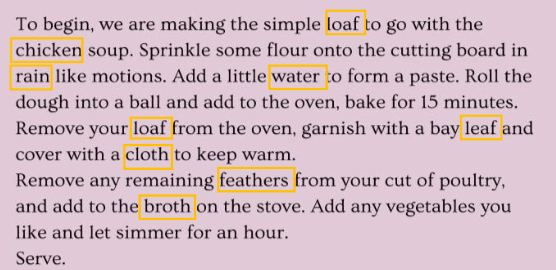
There are things listed in the recipe that correspond to the translator from the previous envelope.
How to Solve:
Identify key words in the recipe instructions that are also on the first alphabet translator, translate these.
Decoded:
twenty six (26).
Part Three

Hint:
If 91968968 = Nonsense, what does 198 translate to? Counting will not help you solve this clue.
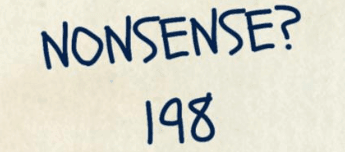
How to Solve:
By looking at the advert, we can see that the 91968968 = NONSENSE, this means that 9=N,1=O and so on, using this logic we can translate 198
Decoded:
1=O 9=N 8=E, ONE.
Part Four - A
Hint:
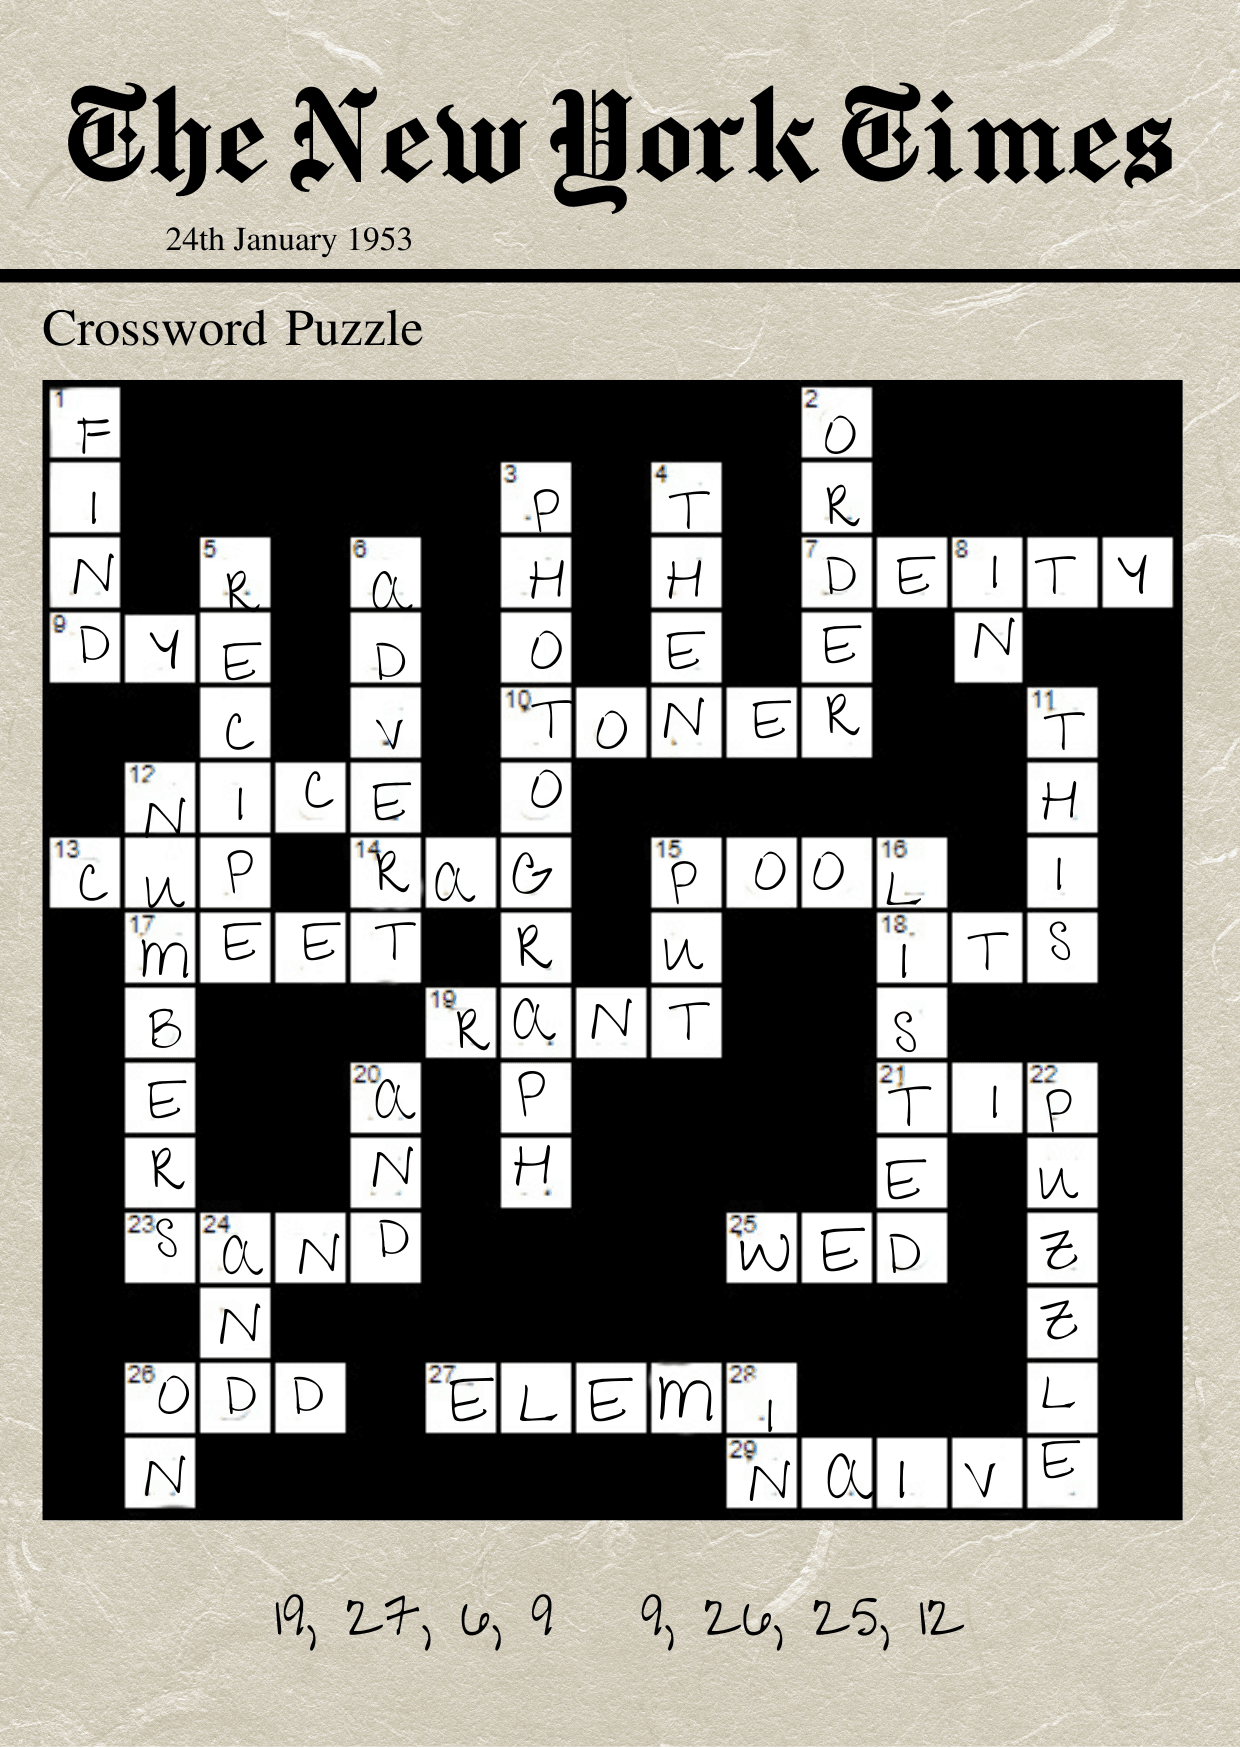
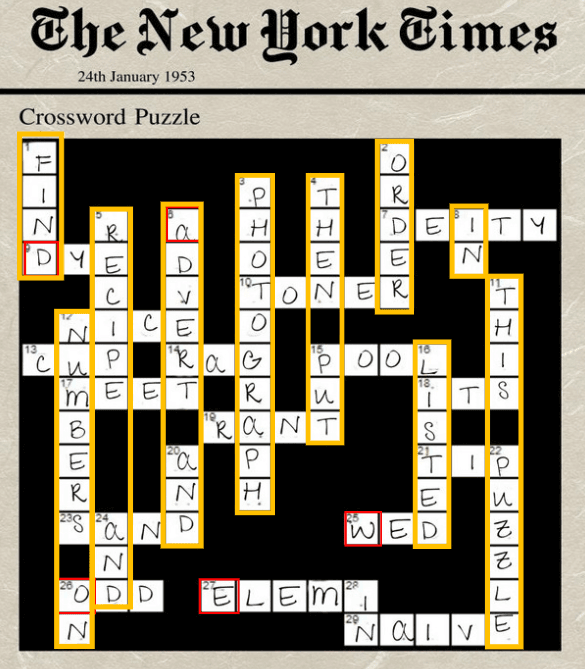
Solve the crossword puzzle by matching the numbers at the bottom with the letter in the corresponding box.
How to Solve:
Identify the letters relating to the crossword numbers, this spells ‘Read Down’
Decoded:
READ DOWN
Part Four - B
Hint:
Read all the ‘down’ words from left to right. Reading down each line you will spell out a sentence.
How to Solve:
Reading down the crossword spells: Find numbers on recipe and advert and photograph and then put order listed in this puzzle.
Decoded:
Use the order listed in the crossword to order the numbers. Recipe = 26, advert = 1, photograph = 7.
Envelope Answer: 2617
ENVELOPE THREE HINTS
Part One
Hint:
Translate the binary code using the translator provided.
How to Solve:
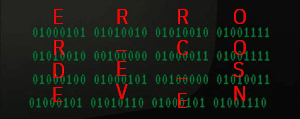
Decoded:
ERROR CODE SEVEN
Part Two
Hint:
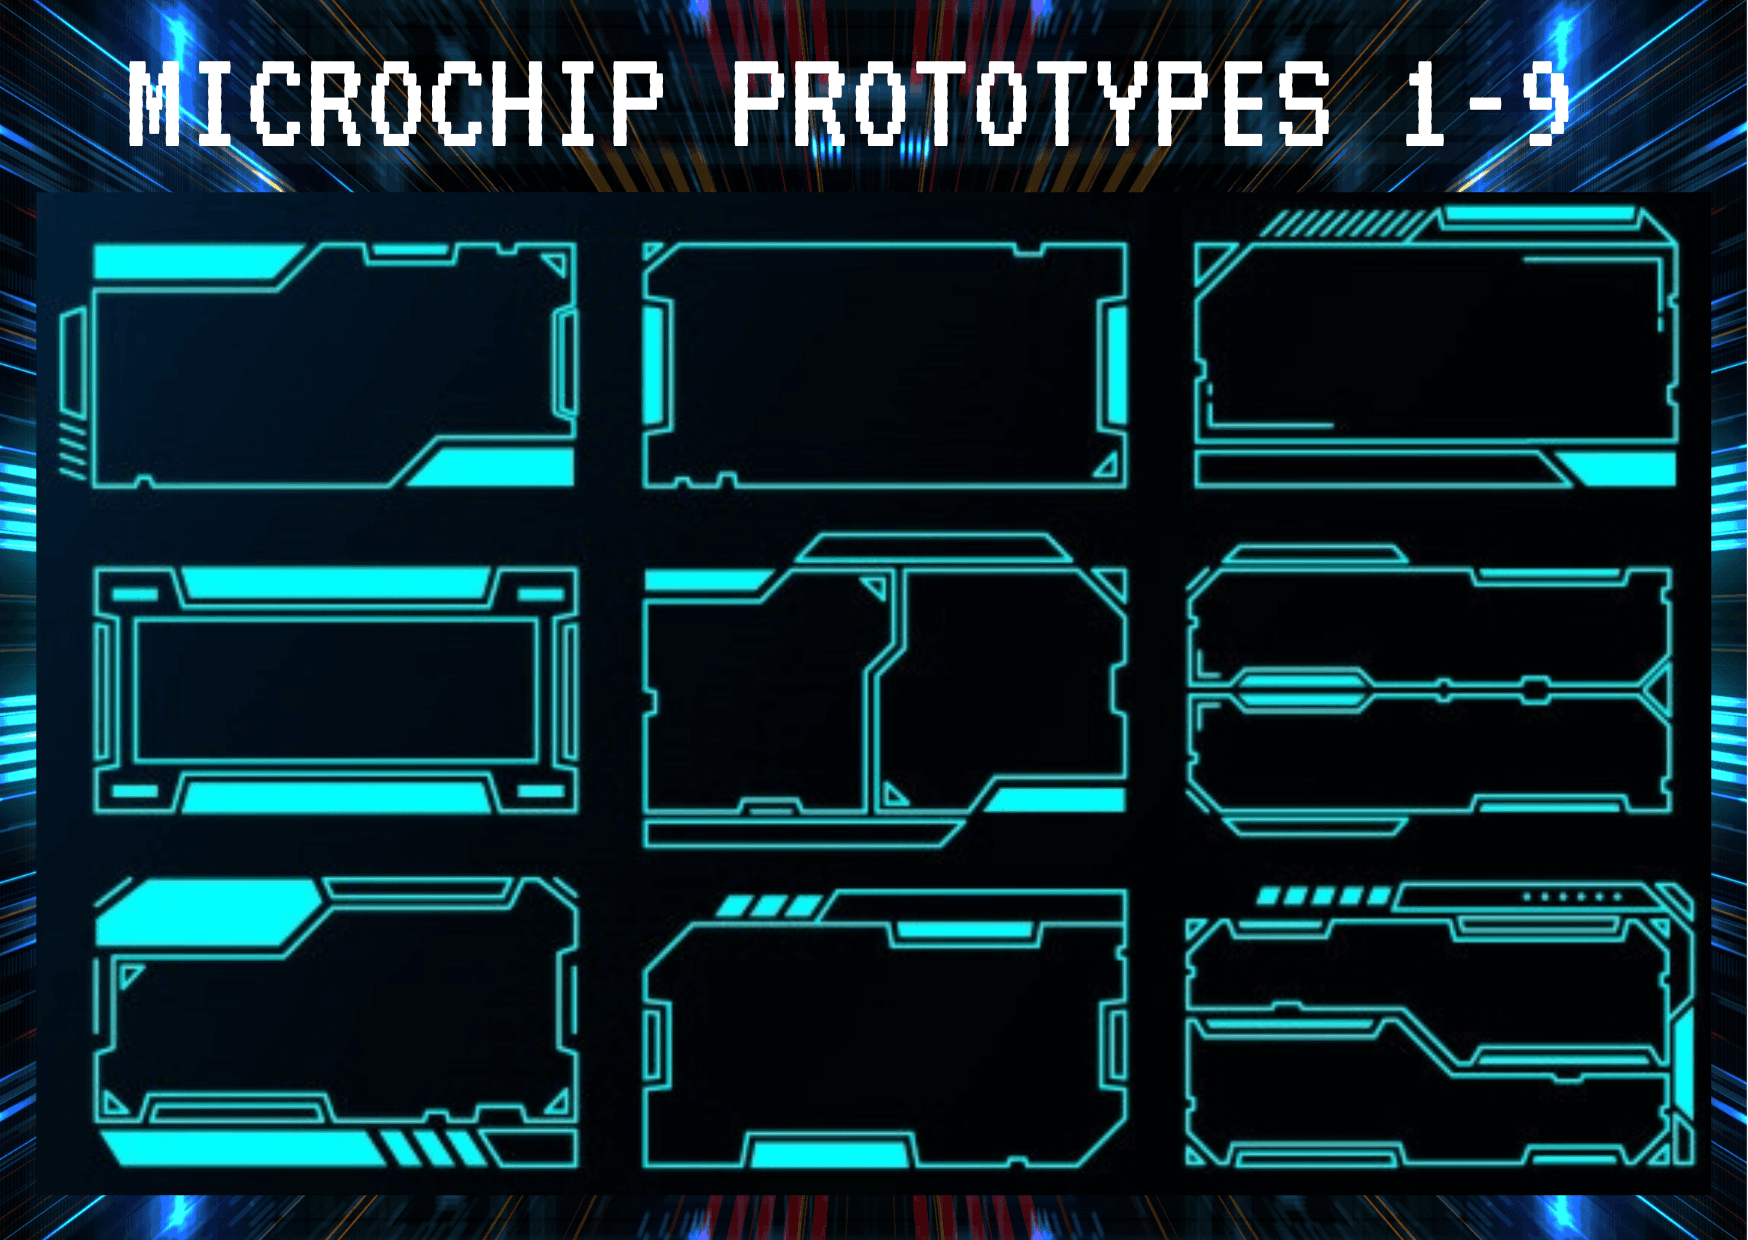
Put together the puzzle and identify the big microchip, they are numbered 1-9 left to right.
How to Solve:
This clue is cut into squares, teams must put the puzzle together to form the shape of the big microchip. They then must identify the number of this particular microchip, microchips are numbered 1-9 and this must be read left to right.
Decoded:
The number is 9.
Part Three
Hint:
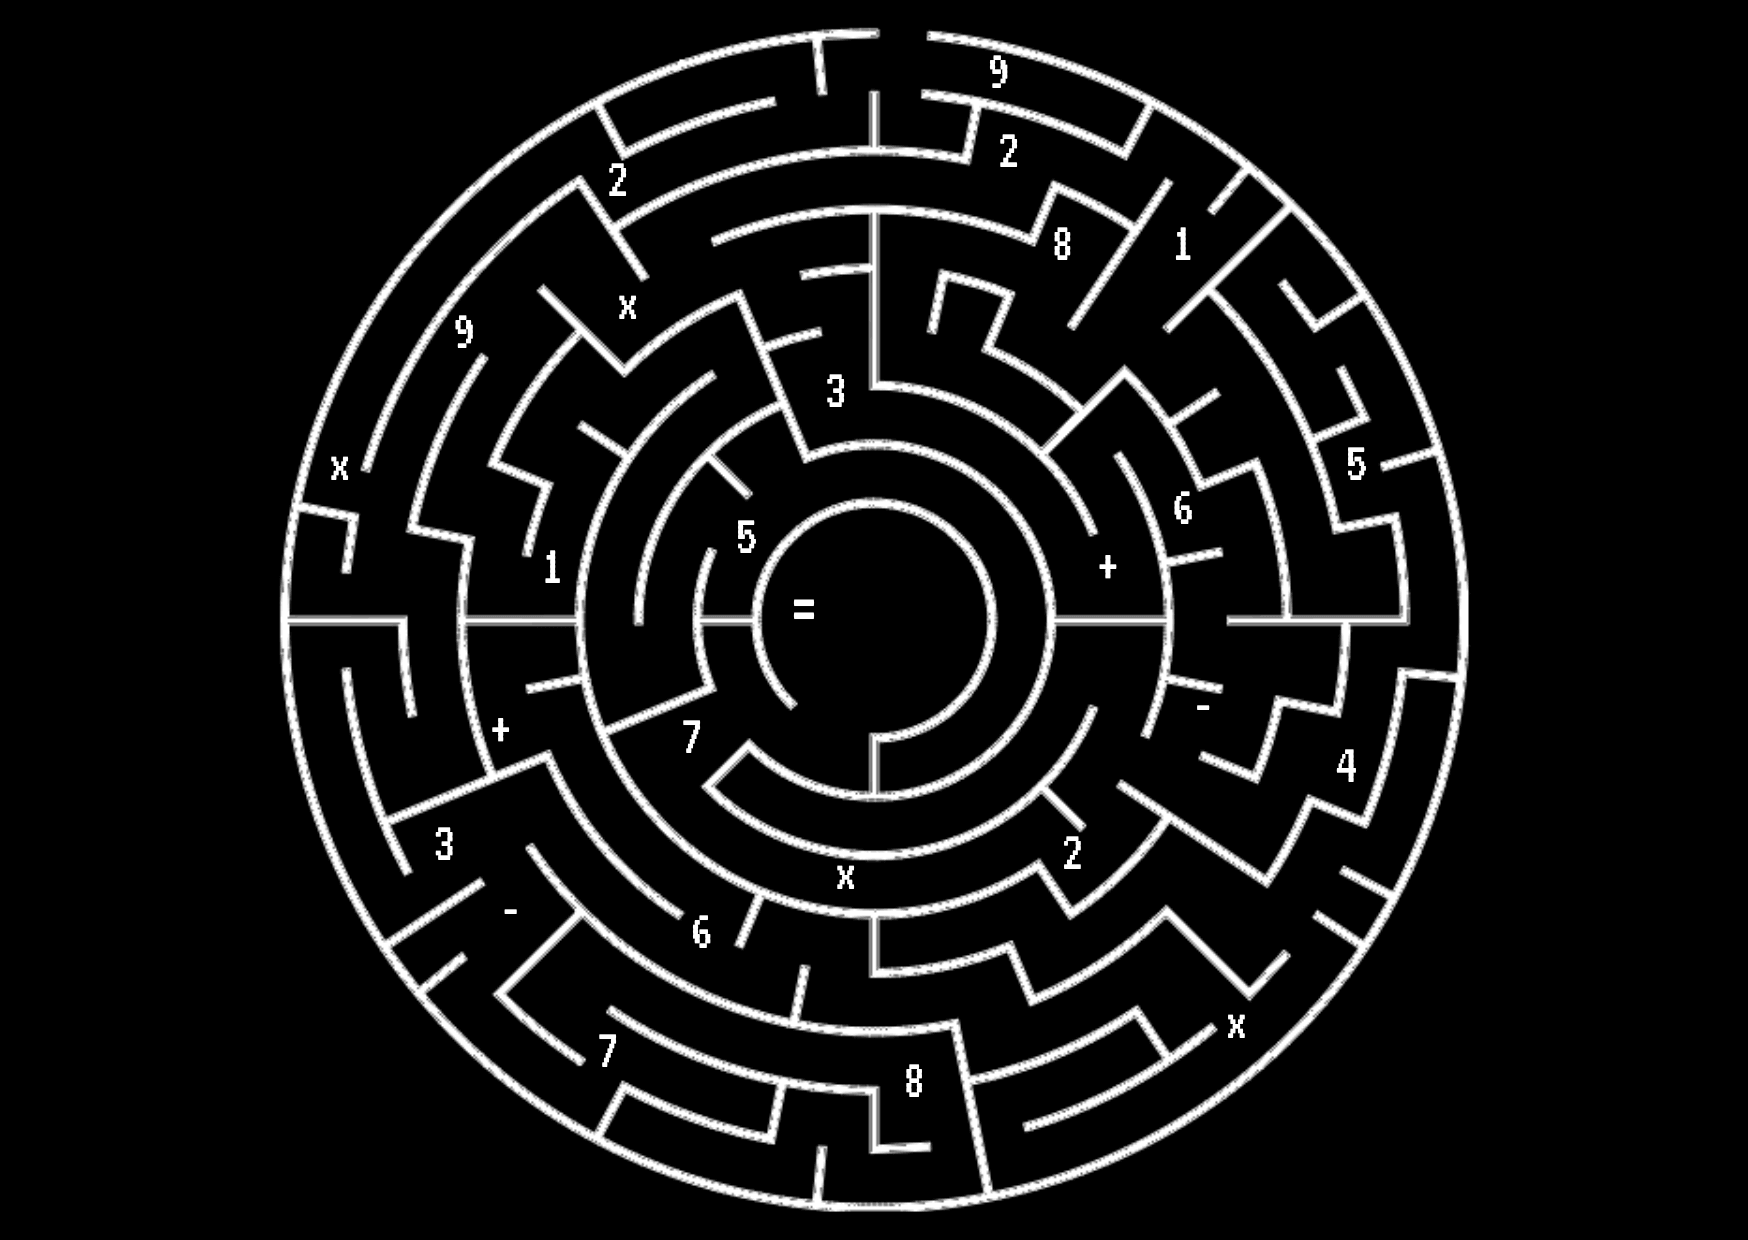
Solve the maze and take note of the equation you collect along the way. Remember to use BEDMAS.
How to Solve:
Navigate the maze from the outside to the centre, you will form an equation along the way. The equation is 2 x 9 x 3 + 6 –2 x 7 =. Using BEDMAS, we can rearrange this into (2x9)x3+6+(-2x7).
Decoded:
46
Part Four
Hint:
How to Solve:
Decoded:
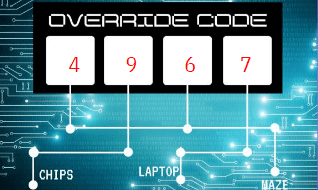
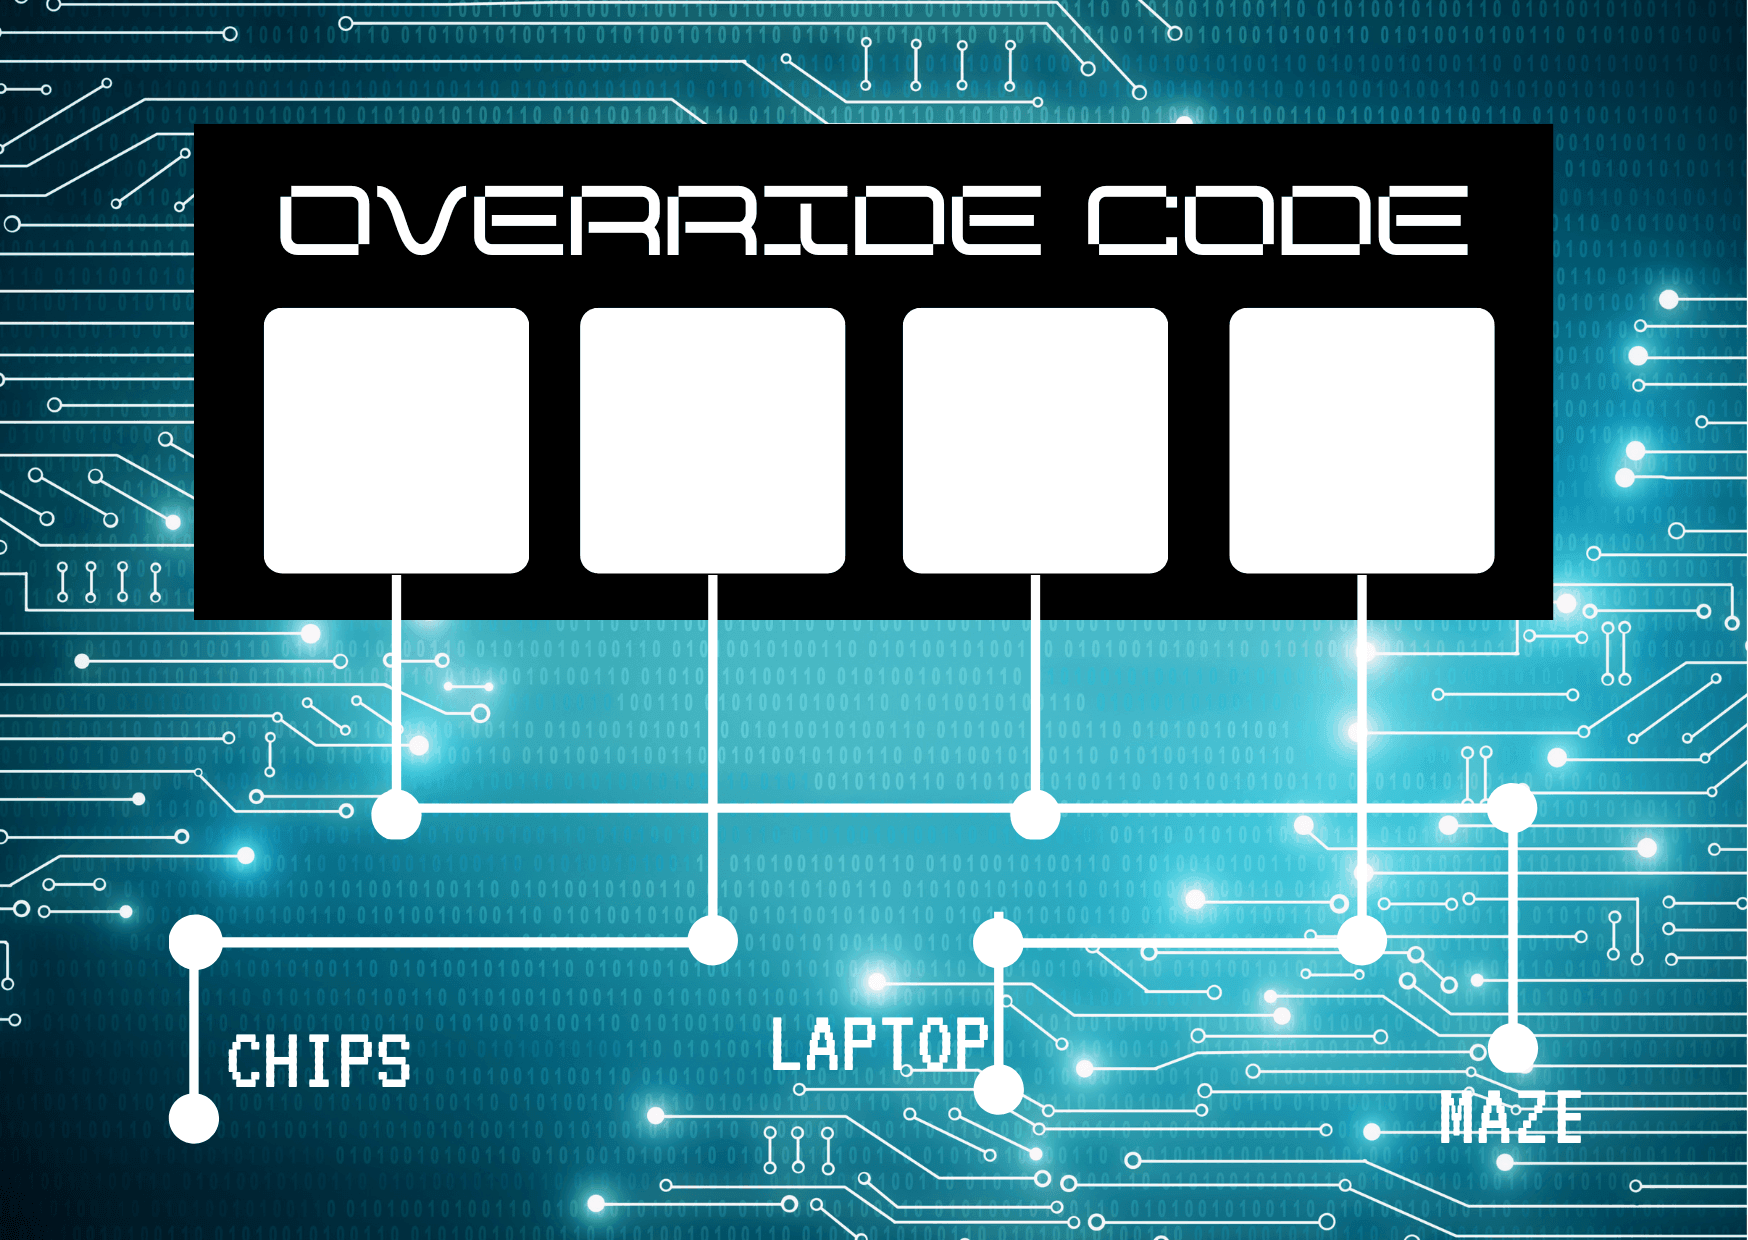
Envelope Answer: 4967
ENVELOPE FOUR HINTS
Part One
Hint:
How to Solve:
Fifth in line is code for the fifth letter on each line.
Decoded:
THE CODE 8 SEVEN 7 TWO